
An invoice is an official document that is sent from the buyer to the seller, it shows the goods and services rendered by your business and the payment information that the buyer has to make. It is also known as a bill or sales invoice.
 How to get there!
To create an invoice in myBooks click on Transactions > Invoices > Create invoice or click on Create which is located in the top right-hand corner and then click on Invoice. With or without customer details you can create an Invoice.
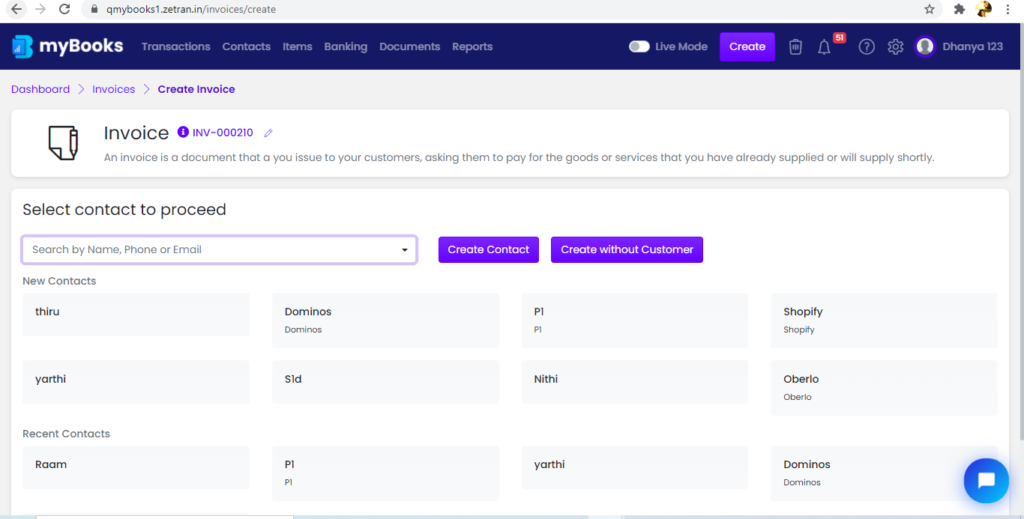
Select the customer if you want to generate an invoice or create a new contact by clicking on Create contact. You can prepare invoices without customer details by clicking on Create without customer.
Invoice Header Configuration
Select the date, the terms will be updated if it was linked to the customer. The due date gets added automatically based on the terms, it can be changed if needed. The salesperson can be added to the transaction from the dropdown.
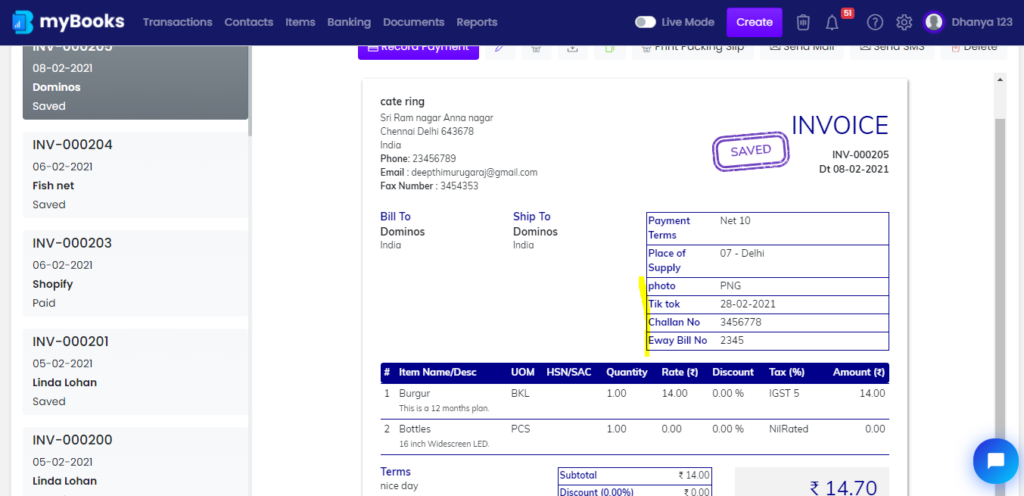
Invoice transaction has optional fields like E-way bill and Challan No. Also, you can use the customized field in simple steps by entering the label name and input type as per your requirement. Those standard and custom fields can be added and removed at any time. If it is added, those will be reflected over the invoice, Print template, Template variant. Setting screen, where the user can add the customized fields.

The added fields are updated in create invoice screen.
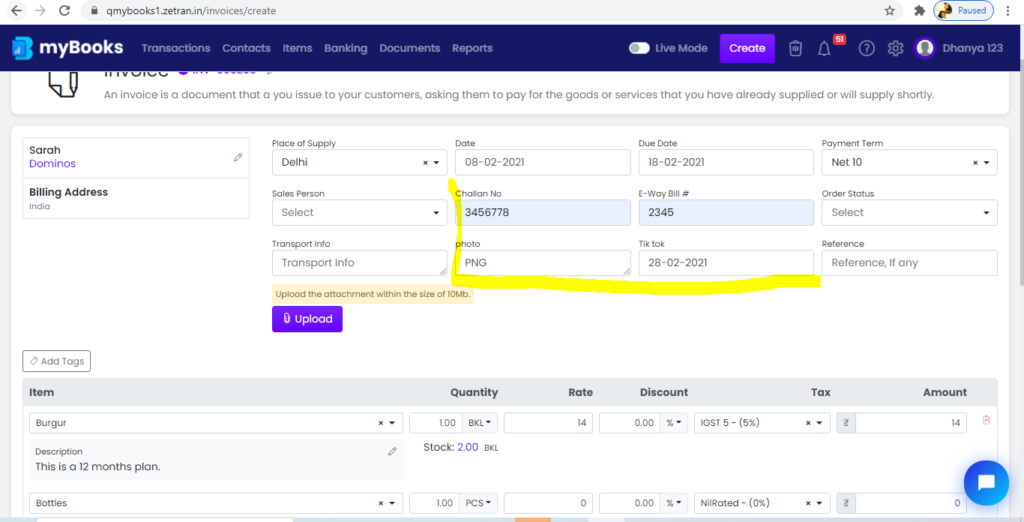
Add tags to the transaction by a click on tags and select from the dropdown. By default created contacts and items will be added as tags automatically.
Entering your Invoice Line Items
Choose the item from the dropdown, then the description, quantity, and the rate will get updated automatically. You can adjust these details as required including the item description. If inventory management is enabled then stock, the number of stocks available will be displayed.
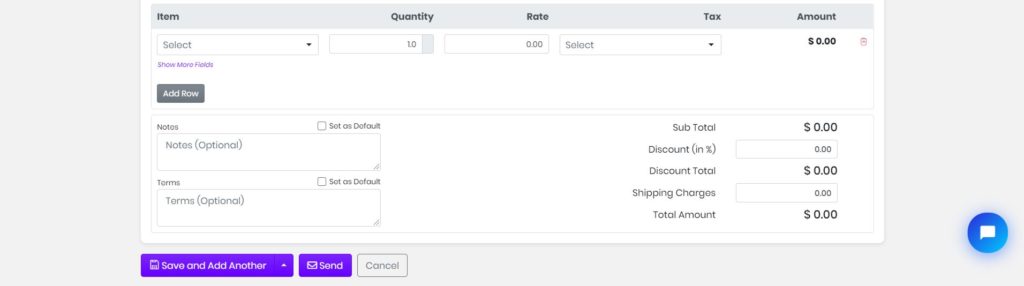
If tax was updated while creating items, the tax field will get updated automatically. If not, then the tax needs to be entered manually.
Discount and shipping charges can be entered in their respective fields. Further, you can setup terms and notes, add them default if you want them to appear on all the transactions.
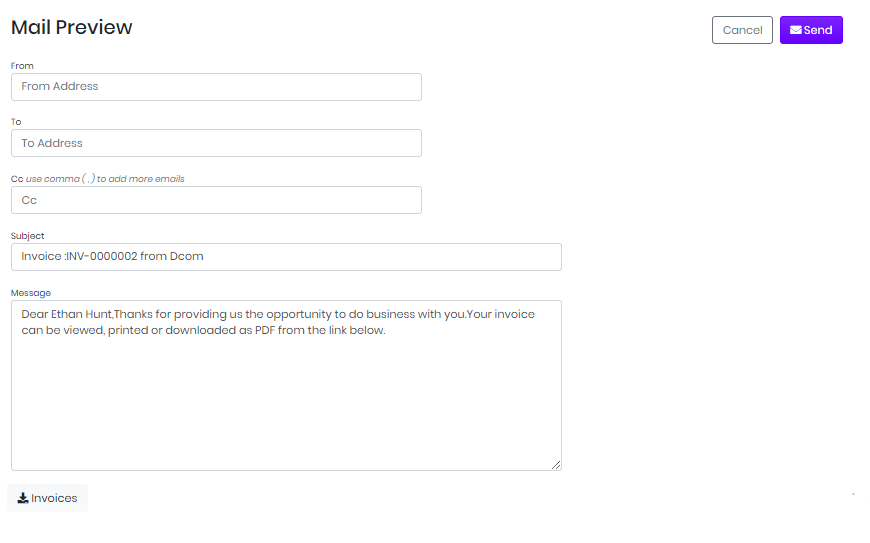
You can save the invoice as a draft or send the invoice by clicking on save and send. An email preview window opens, here you can cancel the mail or can send the email by clicking send option.
In the internal preview screen, the added customized fields are reflected.
In print preview screen,
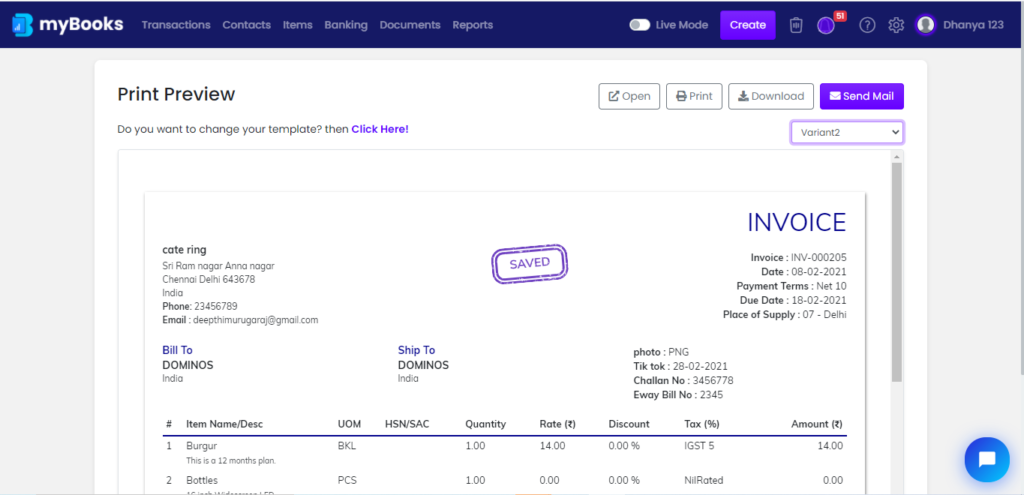
You can also view the print preview of the invoice template and further customize font, color, and fields on your invoice, Click here for Invoice Template customizations